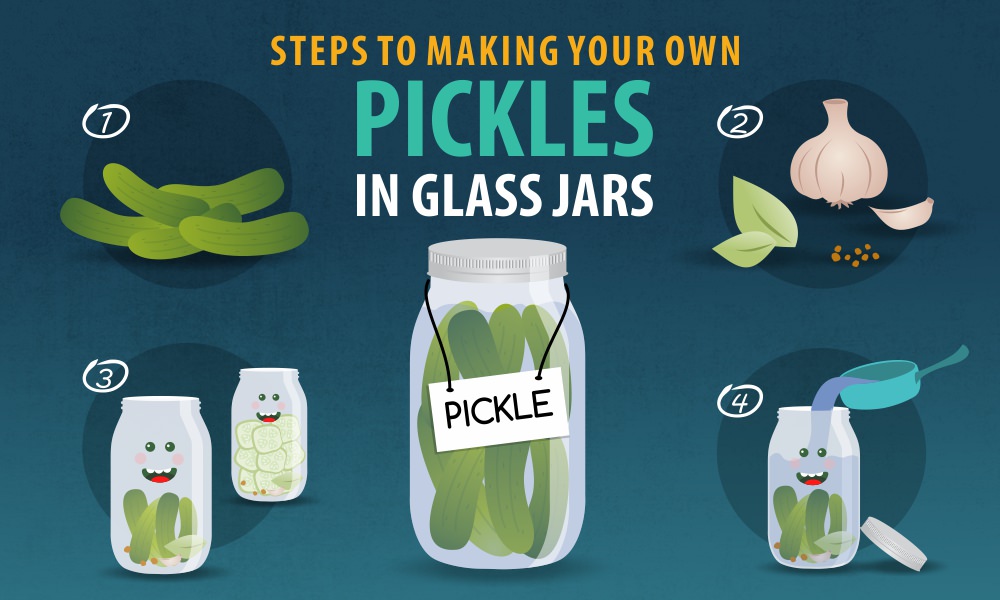
DIY: Steps to Making Your Own Pickles in Glass Jars

How to Make Pickles
Do-it-yourself (DIY) projects aren’t a new creation, but they’re becoming increasingly popular as an alternative to expensive commercial items. DIY projects range from home décor to canned goods, and the instructions for many of these creations are freely available online. Tackling a DIY project may sound intimidating, but many require nothing more than basic home items and a bit of time. For example, the tools needed to make homemade pickles are only a clean glass jar, a large boiling pot, and a chopping board and knife. Specific recipes vary, but the basic steps of DIY pickles are easy to follow.

Step 1: Select and Prep Your Veggies
Pickles are created when cucumbers are introduced to brine, but pickling isn’t restricted to this one type of vegetable. Asparagus, radishes, beets, and okra are only a few of the many plants that pickle well. Even meat like fish, eggs, and oysters can be pickled. If vegetables aren’t appealing, pickled fruits like prunes, grapes, and cranberries can add an extra dash of flavor to any dish.
For traditional pickles, the cucumbers will first need to be washed. Slice off the blossom end of the cucumber (the end opposite the stem), and trim the stem to about a quarter-inch in length. The blossom end houses a special enzyme that if left on during the pickling process will make the pickles soft and could make them spoil more quickly. Cleaning and cutting the cucumbers should only take five to ten minutes.
Step 2: Select Your Seasonings
This is another quick step, since it only takes five minutes and a bit of creative thought. Pickles are frequently brined along with fresh garlic and dill, but other seasonings, like turmeric or bay leaves, can add a unique flavor profile to the finished product. The amount of seasoning to be added depends on the specific recipe. As a rule of thumb, four pounds of cucumbers should receive around two and a half tablespoons of seasoning.
Garlic can be added in whole cloves or in slices, depending on your preference. Ground cloves, mustard seed, and celery seed are favorite additions for bread-and-butter pickles, especially when thinly sliced onions are added to the brine. A few fresh jalapenos will give the pickles a kick of spicy heat. It all depends on the flavor profile you want your pickles to have. If you’re not sure, experiment with a few batches to see what you like.
Step 3: Pack in the Pickles
Add half of the seasonings into the bottom of the jar selected for pickling. Put the cucumbers into the jar: It’s OK if the fit is snug. Once all of the cucumbers are in, add in the rest of the seasonings. Make sure there’s enough room for the lid to fit on the top. Depending on the amount of pickles being made, this step can go as quickly as a minute for one jar or 15 minutes for several containers.
Step 4: Make and Add Brine
The brine is the active component in making pickles, so it’s important to carefully follow the recipe. A basic sour brine includes a gallon of water, a quart of white vinegar, and a half-cup of salt. To make the brine, boil all of the brine ingredients until well dissolved, then slowly pour it into the jar over the cucumbers. Leave about a half-inch of space between the brine and the top of the jar. Finally, cover the jar with its lid. This process could take as long as 15 minutes, depending on how much brine you’re making. If you’re pickling something other than pickles, white vinegar may be swapped out for apple cider vinegar or may be omitted entirely. Check the recipe to see what’s recommended for your chosen vegetable, fruit, or meat.
Step 5: Store Your Container for Homemade Pickles
This step could take anywhere from one to six weeks. Store the container in a shady place at room temperature while the fermentation process occurs. If any scum appears on the surface of the brine, remove it and replace the lid. After at least a week, the cucumbers will have transformed into deliciously crunchy, tangy pickles. Store your new homemade pickles in the refrigerator. Leaving the cucumbers to brine longer will enhance the flavor, but when in doubt, follow the directions of the recipe. If the pickles become soft, slippery, or slimy, this is an indication that they have spoiled and should be discarded.
- Pickling Tips
- Cheeseburger Chemistry: Pickles
- Getting Crisp Home-Pickled Vegetables (PDF)
- Fermented “Crock” Dill Pickle Recipe
- Crispy Pickles
- Making Fermented Dill Pickles
- Common Pickle Problems
- Homemade Pickles and Relishes (PDF)
- Making Pickles: Master Resource
- Crispy and Delicious Homemade Pickles (PDF)
- Frequently Asked Pickle Questions
- Let’s Preserve: Refrigerator Spring Pickles
