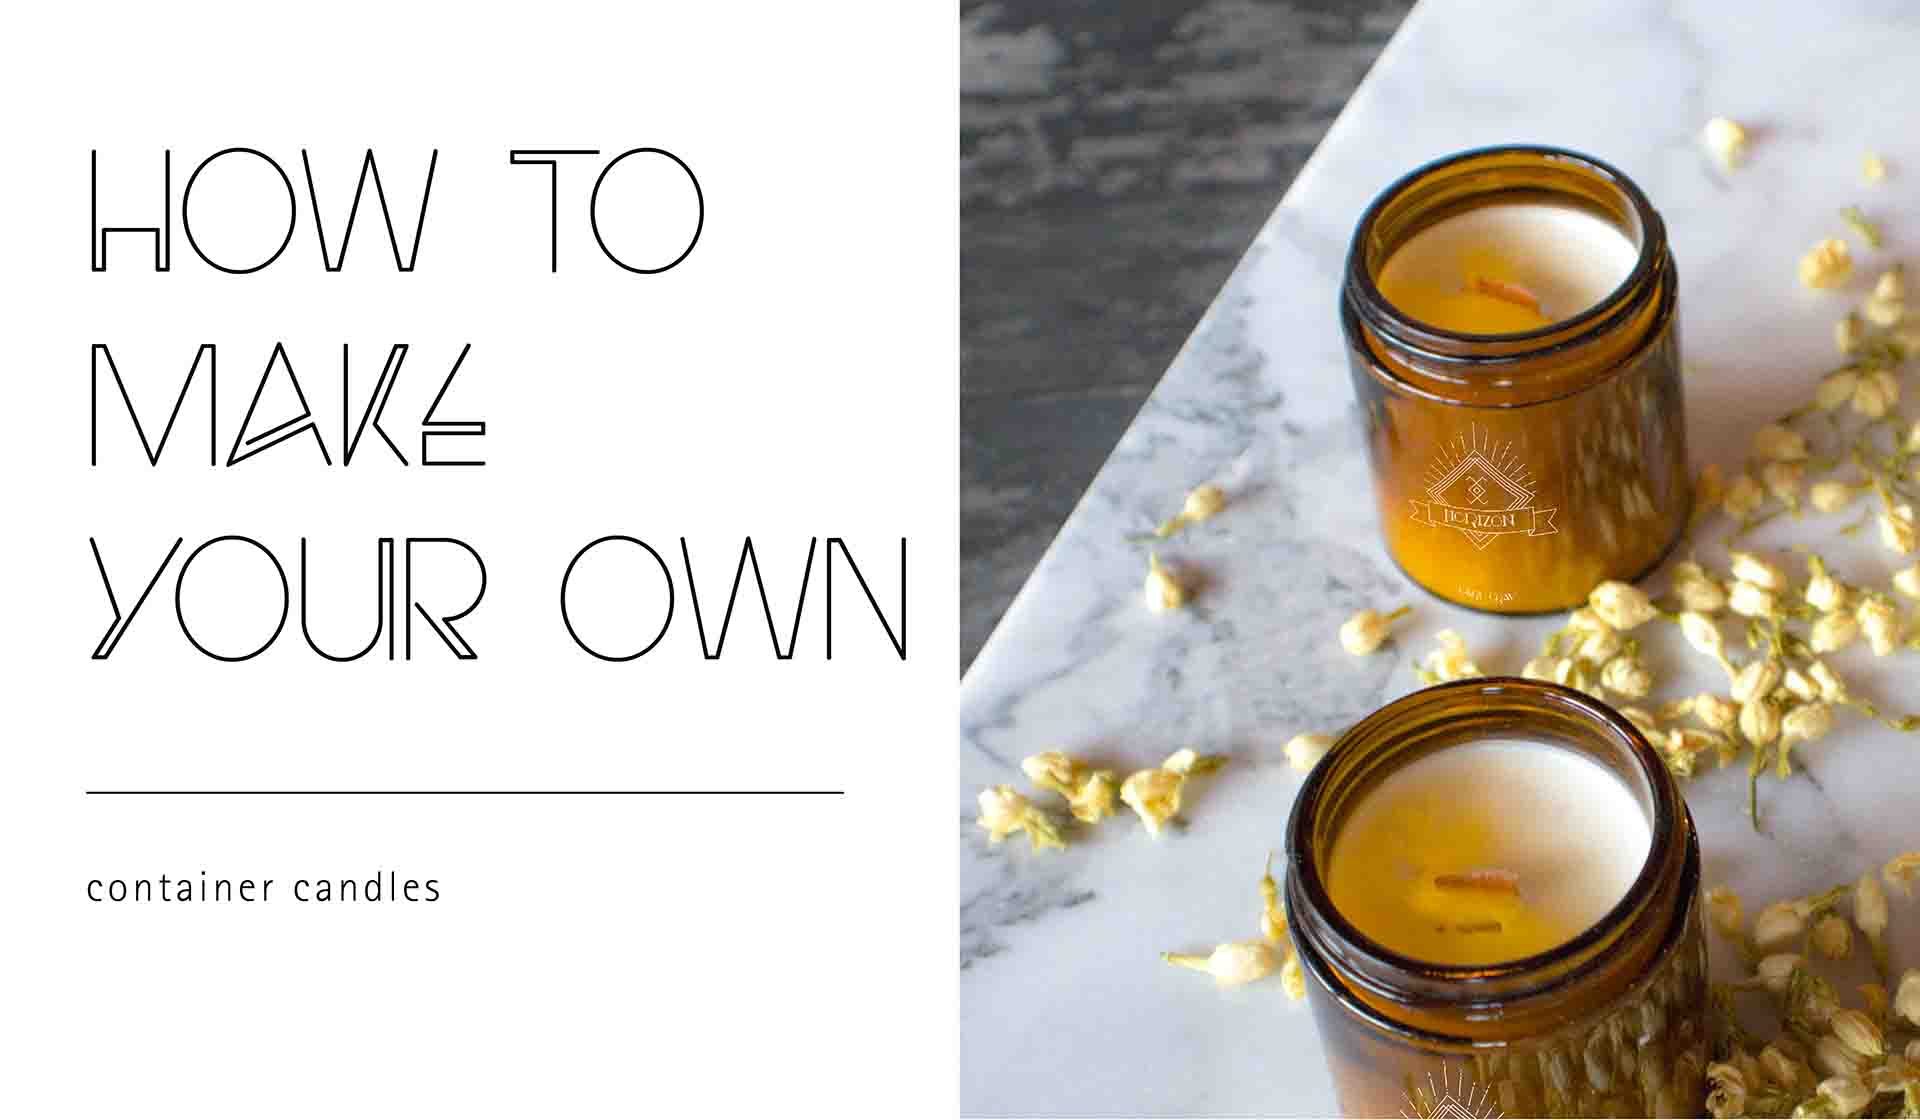
How to Make Your Own Container Candles

If you love having candle jars around your home to refresh the air and provide a nice ambience, you might consider making your own candles as a hobby. You may even consider making candles as a side business to earn extra cash.
Candle making is an art form that requires a few simple supplies, your time, and some patience. To get started, you’ll need to invest in a few basic materials.
As you begin to understand and perfect the process of creating candles, you can experiment with different wax types and scents to develop unique and sellable products.
Candle Materials
To start making candles, you’ll need:
- Heat source (stove or hot plate)
- Double-boiler
- Candle wax
- Wicks
- Heat-safe candle containers
- Fragrance or essential oils
Doing Your Research
You’ll need to do some research into the types of wax you want to use for your candles. The most common waxes used in container candles include:
- Paraffin
- Beeswax
- Soy
In addition to choosing the appropriate wax, you’ll also need to purchase suitable wicks that are good for container candles and compatible with the type of wax you select.
Another vital part of your research includes creating candles that are fire-safe and follow the requirements of the National Candle Association. When making candles, you need to ensure your products will not leak, explode, or burn improperly, which can start a fire or cause damage to furniture caused by leaking wax.
If you plan to sell your candles to the public, ensure your labels contain important safety information, including:
- Never leave a burning candle unattended
- Keep children and pets away from candles
- Never burn candles near combustible materials
Additional consumer safety instructions should be provided on the candle’s label per the NCA’s guidelines.
The Candle Making Process
Once you’ve become familiar with the candle making safety recommendations, you can start setting up your workstation.
Prepare your containers
Before melting your wax, set up heat-safe candle containers in your work area so you are ready to pour the melted wax as soon as it’s ready. You should also have your wicks cut to size and ready to be placed into the candle jars.
Wicks for container candles should be large. Measure your wick slightly longer than you need it, as you can trim it down when the candle is completed. Cutting a wick too short will result in wasted materials.
If your wicks come with a sticky bottom, you can adhere the wick to the bottom of your candle jars while your wax melts. You can use superglue or add a little bit of melted wax to secure the wick into place.
Melt your wax
Using a hot plate or electric stove, you can melt your candle wax in a double boiler set up. If you don’t have an official double boiler set, you can improvise using a large pot and a smaller pot or a metal coffee can.
The larger pot should be filled with water that is brought to a boiling temperature. Place the hardened wax inside the smaller pot or can and set it in the pot of water.
It takes about 15 minutes for the wax to completely melt. As it melts, it’s important you continue to stir it frequently to ensure a smooth consistency.
Add scents
When the wax has melted, you can add your fragrance or essential oils to the double boiler. Some candle-friendly scents will have their own instructions for measurements, or you can stick with the general rule for adding one ounce of oil per pound of wax. Stir the oils evenly into the wax.
Pour your candles
After the oils have been stirred in, let the wax cool for a few minutes. If you have a thermometer, you can check the temperature. Around 140 degrees, the wax is ready to be poured into the containers. Hotter wax doesn’t settle as well as it does when it’s allowed to cool.
Leave some of the wax in the double boiler to fill in holes in the poured candles after they have set.
Adjust your wicks
As you pour in the melted wax, your wick can easily move out of position. To ensure your candle burns properly, the wick should be centered. You can wrap the wick around a pencil to pull it up straight as the wax hardens. Once the wick is in place, you can pour the remaining wax into candles to fill in holes.
Let cool
Your candles should be allowed to cool completely. Once the wax has set, you can trim the wicks to ¼ inch.
While candles are cooling, you can clean up your workspace. The wax cleans up easily while still liquid or you can use a utensil to scrape the excess wax off of your tools, the boiler, and your countertop.
Never rinse wax into your sink or put wax-covered utensils into the dishwasher. The wax can cause plumbing problems.
Once the wax has cooled and set, you can light the wick and enjoy your creation.


Wow! At last I got a webpage from where I can in fact get
valuable facts concerning my study and knowledge.
Great, your information is detailed and very helpful. If you plan to sell candles to the public, you need to have a CLP label for the candles. Thank you for sharing!