Bottling Your Own Kombucha
Bottles of kombucha, a fermented tea and sugar drink, are flying off the shelves these days. Kombucha is a popular mainstream beverage but also relatively easy to make at home. Research has shown kombucha has many health benefits and fully supports a healthy immune system.
Bottling your own kombucha provides lots of opportunities to tweak different flavors and essences used in your beverage. As you experiment with the fermenting process and flavoring, you can create many kombucha varieties to enjoy for yourself or share with friends and family.
The Kombucha Process
Learning the process will take some practice but is said to be well worth the effort. Making kombucha at home requires some basic supplies, including:
- Glass jar (quart-sized)
- Stirring utensil
- Coffee filter
- Canning lids (new)
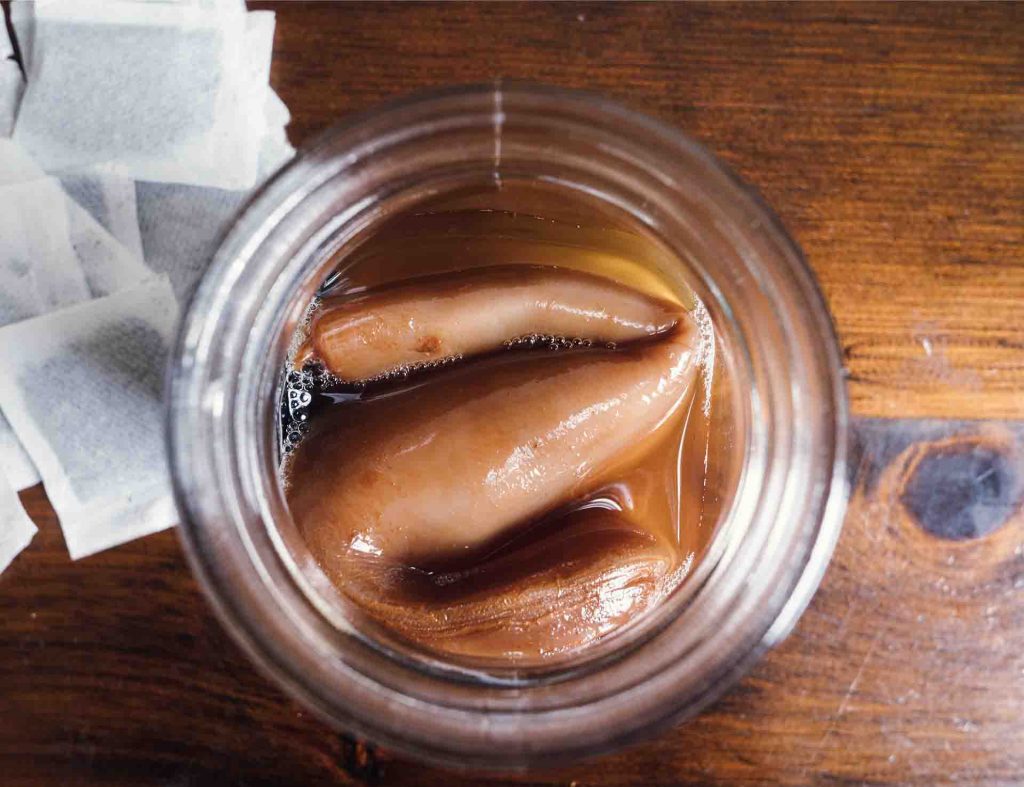
The ingredients needed for a basic kombucha recipe include water (non-fluoridated, non-chlorinated), white sugar, tea bags, distilled white vinegar, and active kombucha SCOBY. SCOBY is a five-ingredient active colony consisting of bacteria and yeast necessary to create the active culture in the drink. Tea starter kits can be purchased for beginners, which contain SCOBY cultures. You can also grow your own SCOBY culture, using a bottle of raw, unflavored kombucha.
Combining the Ingredients
Depending on the amount of kombucha you plan to make, you’ll need to measure out your ingredients. For a simple one quart batch, use the following ratios:
- 1 ½ teaspoons of loose tea (or 2 teabags)
- ¼ cup sugar
- ½ cup of vinegar
- 2-3 cups water
Water needs to be heated then combined with sugar in the glass jar. Stir the mixture until sugar is completely dissolved. Tea bags or loose tea should be placed into the heated sugar water and allowed to steep for 15 minutes. Bags or leaves should be removed from the tea and discarded.
Vinegar should be added at this time, followed by the active SCOBY. The glass jar should be covered with a coffee filter and fitted with a canning lid, ensuring an airtight seal.
Your kombucha container should be placed away from direct sunlight for two weeks or longer, in temperatures between 68 and 85 degrees. The longer the kombucha is allowed to ferment, the less sweet the taste will be.
Bottling the Kombucha
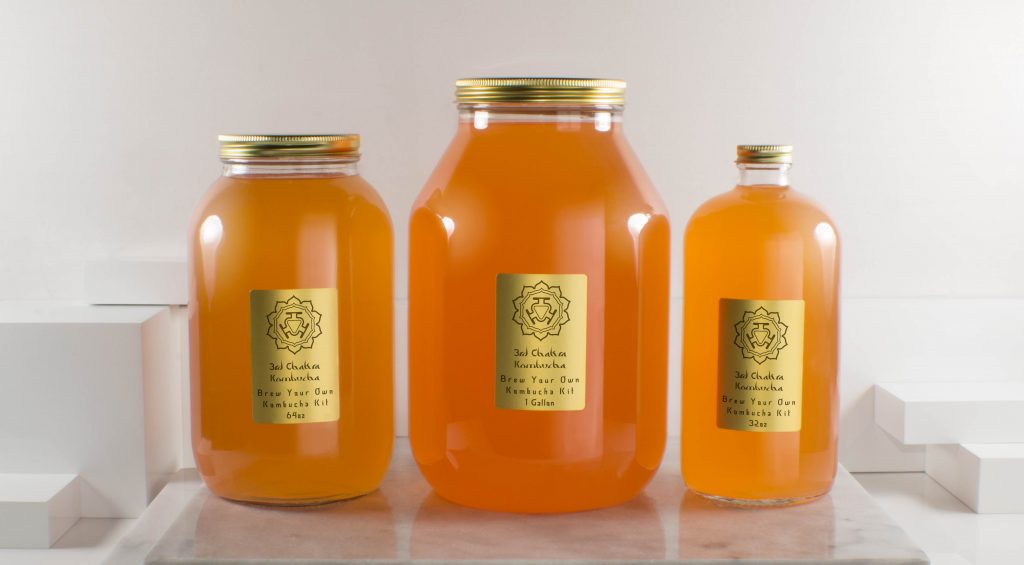
Once the mixture has fermented properly, the jar can be opened and the kombucha dispensed out of the jar. Use a funnel to prevent a mess when filling your glass jars. Keep the SCOBY and some of the liquid from the bottom of the jar. You can use this for starting your next kombucha batch.
Next, the liquid gets poured into glass bottles, without much headroom. The kombucha can be enjoyed as-is or additional flavors can be added. If you enjoy a fizzy version of your drink, add one or two raisins and wait an additional 2-3 days for a second fermentation. Ginger can also be added for additional fizz during a second fermentation process.
Popular flavorings among kombucha drinkers include fruit and fresh herbs. Fresh or frozen fruits can be added in purée or diced form. Berry fruits are popular, especially blueberry, raspberry, and strawberry. Apple works well when combined with fresh herbs. More experienced bottlers enjoy making their own unique combinations, such as watermelon and jalapeño or the more exotic hibiscus kombucha.
1 thought on “Bottling Your Own Kombucha”